Office 365 SMTP Relay Setup: A Comprehensive Guide

Email communication is an essential part of running a business. With Office 365, users can access many features that make communication and collaboration seamless. However, some companies require email relays to send and receive emails from third-party applications. Office 365 SMTP relay setup is one such feature that enables businesses to route messages from applications and printers through Office 365. This blog post will guide you through the Office 365 SMTP relay setup.

Office 365 SMTP Relay Setup: Table of Contents
Step 1: Verify your domain
Before you begin the SMTP Relay setup, ensure your domain is verified in Office 365. To do this, log in to Office 365 Admin Center, go to Settings, and click on Domains. From there, select the domain you want to verify and follow the instructions provided. The verification process can take up to 72 hours, so plan accordingly.
Step 2: Prepare your network
Before enabling SMTP Relay, you must ensure your network is set up to support it. Start by identifying the IP address of the device or application used to send emails. Once you have the IP address, add it to your network’s allow-list. This will enable the device or application to connect to Office 365 servers.
Step 3: Configure SMTP Relay
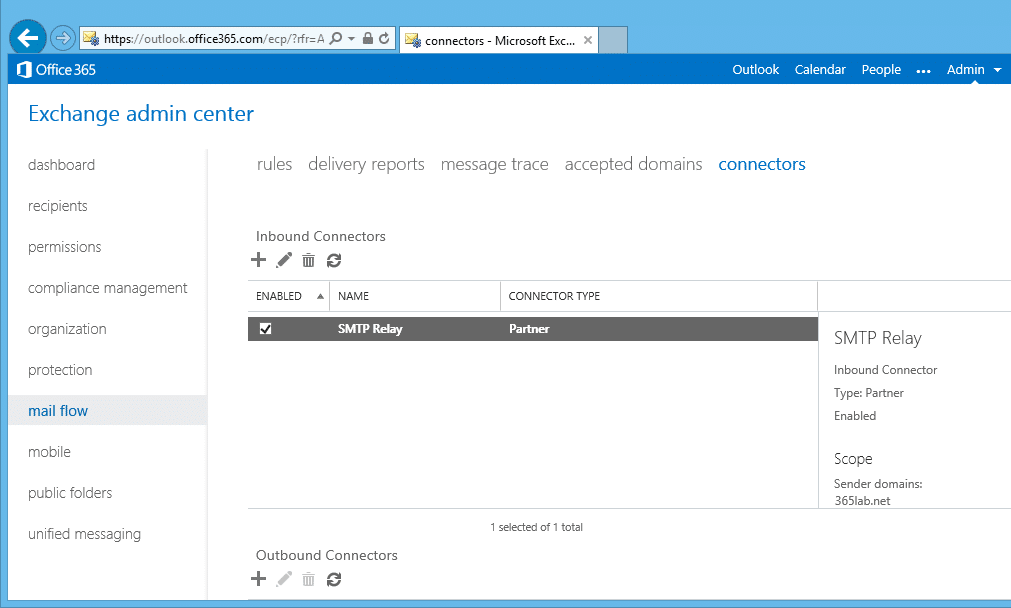
Go to the Exchange Admin Center in Office 365 and select the Mail Flow option. From there, click on Connectors and then the plus sign (+) to create a new connector. Select the “Partner organization” option in the wizard that appears and click Next. On the next page, give your connector a name and description. Select the “Use the sender’s IP address” option and enter the device’s IP address or application sending emails.
Step 4: Set up authentication
To ensure the security of your emails, you need to set up authentication for your SMTP Relay. In the same wizard, select the “Basic Authentication” option and enter the Office 365 email address and password used for authentication. Once authentication is set up, you can save your connector and use SMTP Relay.
Step 5: Test your setup
The final step is to test your Office 365 SMTP Relay Setup. This can be done by sending a test email from the device or application you configured in Step 3. If the email reaches the intended recipient, your Office 365 SMTP Relay Setup succeeds.
Conclusion of Office 365 SMTP Relay Setup
SMTP Relay is a helpful feature that enables businesses to send and receive emails from third-party applications within Office 365. Setting up SMTP Relay is straightforward, but you must ensure that your domain is verified, the network is set up to support it, and authentication is enabled. Once you have completed these steps and tested your setup, you can use SMTP Relay without issues. Now that you have a basic understanding of SMTP Relay, you can use this powerful feature to enhance your business communication.

Nice blog here Also your site loads up fast What host are you using Can I get your affiliate link to your host I wish my web site loaded up as quickly as yours lol
Follow this URL for Affiliate Link. URL: https://softpiq.com/affiliate-partner
Normally I do not read article on blogs however I would like to say that this writeup very forced me to try and do so Your writing style has been amazed me Thanks quite great post
Hi my loved one I wish to say that this post is amazing nice written and include approximately all vital infos Id like to peer more posts like this
Fantastic site Lots of helpful information here I am sending it to some friends ans additionally sharing in delicious And of course thanks for your effort