How to Remove a Microsoft Account from Windows 10: A Step-by-Step Guide

How to remove a Microsoft account from Windows 10 is a common concern. Windows 10, the globally leading operating system, excels in both home and business environments. Yet, with a Microsoft account linked, your data is automatically stored in the cloud for seamless access across devices. If you’re seeking guidance on how to remove a Microsoft account from Windows 10, our step-by-step blog post will provide the answers you need.
How to Remove a Microsoft Account from Windows 10?
Step 1: Go to the “Settings” Menu
The first step to remove a Microsoft account from your Windows 10 system is to open the settings menu. You can do that by clicking the “Start” menu and choosing the “gear icon” there. Alternatively, you may also use the “Windows Key + I” shortcut.
Step 2: Click “Accounts”
Once you are inside the settings menu, find and click on the “Accounts” option. A new window will appear that will give you an account overview and also the option to choose between different account types available in Windows 10 – Microsoft account or local account.
Step 3: Select the Microsoft Account
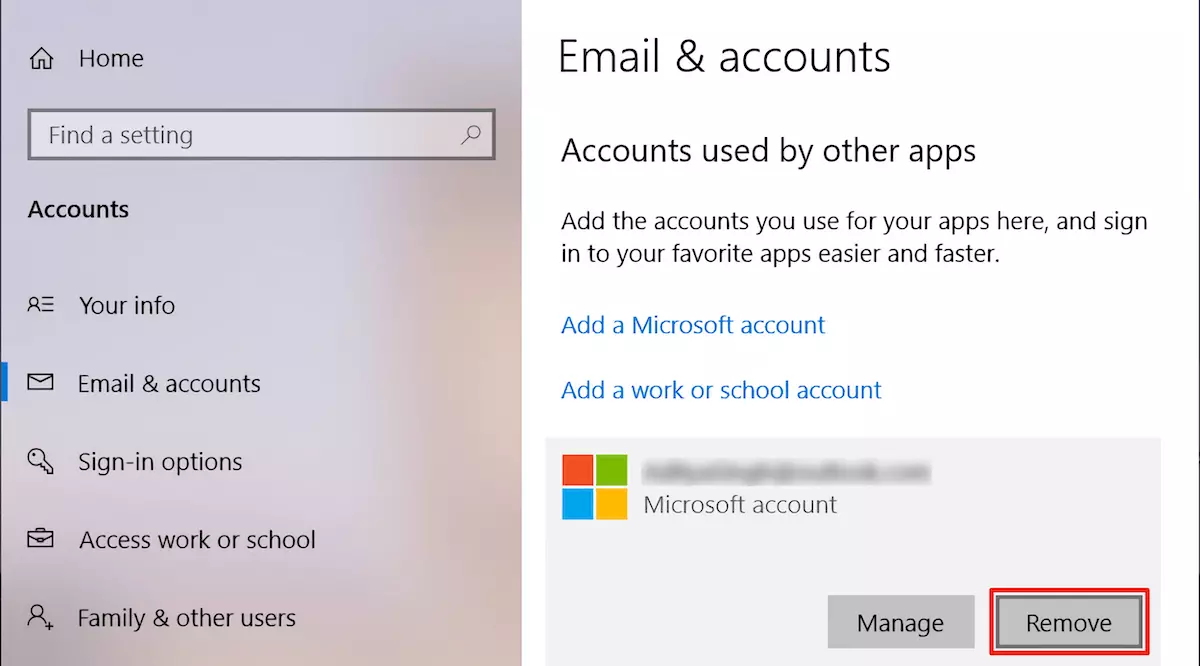
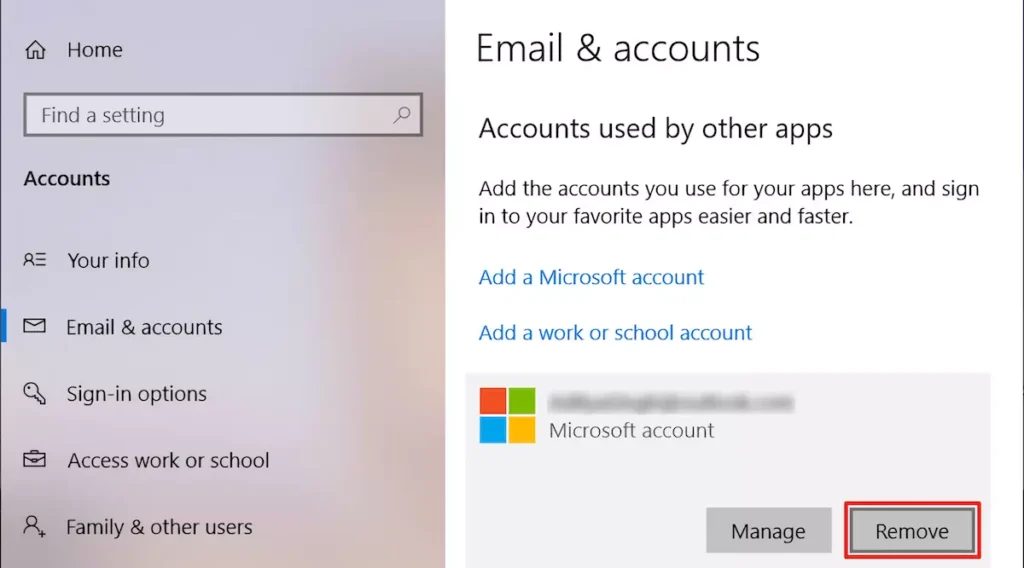
The next step is to select the Microsoft account that you want to remove from your Windows 10 system. Click on the user’s name and then select the “Remove” option.
Step 4: Confirm Account Removal
Once you click on the “Remove” option, a popup window will appear that will ask you whether you are sure to remove the Microsoft account from your Windows 10 system. If you’re confident, you need to confirm the deletion once again by clicking the “Delete Account and Data” option.
Step 5: Follow the prompts and restart your device
After you select the “Delete Account and Data” option, another popup will appear that will inform you that the next step will cause the device to restart. Click on the “Remove” option in this popup window as well. Your device will now restart, and when it turns back on, the Microsoft account will be removed successfully from your Windows 10 system.
Apart from following these steps, there are a few things you should keep in mind while removing a Microsoft account from your Windows 10 system. First, make sure that you have an alternative local account or administrator account set up on your device so that you don’t lose access to your system. Second, make sure to back up any important data linked with the Microsoft account before removing it. And finally, keep in mind that this process cannot be undone, and all data associated with the Microsoft account will be permanently deleted from your Windows 10 system.

FAQ of How to Remove a Microsoft Account from Windows 10
Can I remove a Microsoft account from any Windows 10 device?
Yes, you can remove a Microsoft account from any Windows 10 device as long as you have administrator privileges.
What happens to my data when I remove the Microsoft account?
All data associated with the Microsoft account will be permanently deleted from your Windows 10 system. Make sure to back up any important data before removing the account.
Can I undo the removal of a Microsoft account?
No, this process cannot be undone. Once you confirm the removal of the Microsoft account, it will be permanently deleted from your Windows 10 system.
Can I continue using my device after removing a Microsoft account?
Yes, you can continue using your device with an alternative local or administrator account set up on your device. However, some features and services may be limited without a Microsoft account linked to your system.
Additional Tips For How to Remove a Microsoft Account from Windows 10
- If you are unable to remove a Microsoft account from your Windows 10 system, make sure that you have turned off the “Sync settings” option for the account.
- You can also change a Microsoft account to a local account by going to the “Accounts” section in settings and selecting the “Sign in with a local account instead” option.
- If you want to switch back to a Microsoft account after removing it, you can do so by following the same steps and selecting the “Sign in with a Microsoft account instead” option.
- If you are using a work or school account, you may not be able to remove it from your device. Contact your organization’s IT department for further assistance.
With the insights provided in this comprehensive step-by-step guide on ‘How to remove a Microsoft account from Windows 10,’ you should now possess the confidence and know-how to execute this task effortlessly. Remember the importance of having a backup plan and alternatives readily available should any unexpected issues surface during the process.
Conclusion of How to Remove a Microsoft Account from Windows 10
In summary, the inclusion of a Microsoft account in your Windows 10 setup can streamline data access and service utilization. Yet, it’s not a universal requirement if you’re inclined to disengage a Microsoft account from your Windows 10 configuration, adhere diligently to the ‘How to remove a Microsoft account from Windows 10’ steps outlined above. Remember to refer back to the supplementary tips and frequently asked questions provided earlier. With a firm grasp of these precautions and procedures, the process of removing a Microsoft account becomes an effortlessly managed endeavor, affording you heightened control over your device’s data and settings. We appreciate your readership.
