The Ultimate Guide on How to Delete Files in SharePoint Office 365

Learn how to delete files in SharePoint Office 365 effectively, with expert guidance and essential tips for seamless management. SharePoint Office 365 is a powerful tool that allows organizations to store, share, and collaborate on files and documents in one central location. However, over time, your SharePoint site can become cluttered, making it difficult to find the files and information you need. To keep your SharePoint site organized and efficient, it’s essential to know how to delete files properly. In this guide, we’ll walk you through the steps to delete files in SharePoint Office 365.
Why is it important to delete files in SharePoint Office 365?
Effective file management is crucial for any organization. Deleting unnecessary or outdated files can free up storage space and improve overall performance. It also helps keep your SharePoint site organized, making it easier to find and access relevant information quickly.
Moreover, deleting files in SharePoint Office 365 is essential to maintain data privacy and security. With strict regulations such as GDPR and CCPA in place, it’s crucial to regularly review and delete files that are no longer needed to prevent any potential data breaches. (How to Delete Files in Sharepoint Office 365?)
How to Delete Files in Sharepoint Office 365?

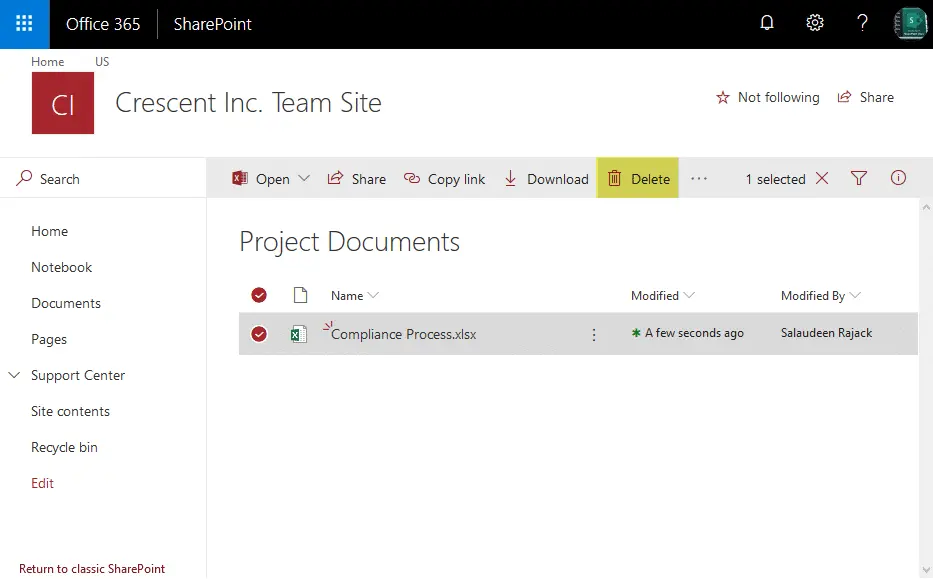
Deleting a file in SharePoint Office 365 is a simple process that can be done by following these steps:
- Navigate to the document library or folder where the file is located.
- Hover over the file you want to delete and click on the ellipsis (…) icon.
- Select “Delete” from the dropdown menu.
- A confirmation message will appear, click “OK” to permanently delete the file.
What happens when you delete a file in SharePoint Office 365?
When you delete a file in SharePoint Office 365, it is moved to the recycle bin. The file will remain in the recycle bin for a set period of time (usually 93 days) before being permanently deleted.
During this time, you can still restore the file if needed. After the set period, the file will be automatically deleted from the recycle bin and cannot be recovered.
How to delete multiple files in SharePoint Office 365?
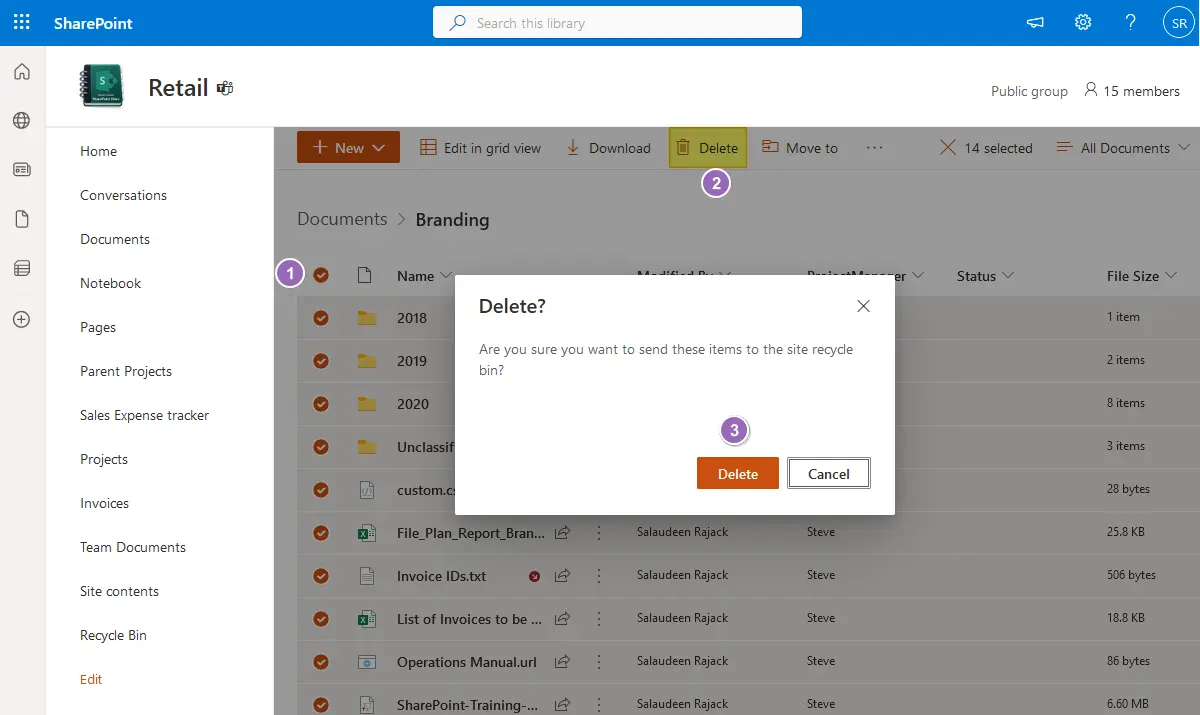
If you need to delete multiple files at once, you can do so by following these steps:
- Navigate to the document library or folder where the files are located.
- Select the files you want to delete by clicking on the checkboxes next to them.
- Click on the “Delete” button in the toolbar or select “Delete” from the ellipsis (…) menu.
- A confirmation message will appear, click “OK” to permanently delete the selected files.
How to restore a deleted file in SharePoint Office 365?
If you accidentally deleted a file or later realize that it was still needed, you can easily restore it from the recycle bin by following these steps:
- Navigate to the recycle bin.
- Select the file you want to restore by clicking on the checkbox next to it.
- Click on the “Restore” button in the toolbar or select “Restore” from the ellipsis (…) menu.
- The file will be restored back to its original location.
Tips for effective file management in SharePoint Office 365
- Regularly review and delete unnecessary files to keep your SharePoint site organized and efficient.
- Use version history to track changes made to a file instead of keeping multiple copies of the same document.
- Set up retention policies to automatically delete outdated or irrelevant files.
- Train employees on proper file management techniques, including how to properly delete files in SharePoint Office 365.
- Consider using third-party tools for more advanced file management and automation.
- Use descriptive file names and folder structures to make it easier to find and delete files when needed.
- Regularly backup important files to prevent loss in case of accidental deletion.
- Implement a permission hierarchy to control who can delete files on the SharePoint site.
- Encourage regular communication and collaboration among team members to avoid creating unnecessary duplicate files.
Conclusion of How to Delete Files in Sharepoint Office 365
Properly managing and deleting files in SharePoint Office 365 is crucial for maintaining an organized, efficient, and secure environment. By following the steps outlined in this guide and implementing best practices for file management, you can keep your SharePoint site clutter-free and enhance productivity within your organization. Remember to regularly review and delete unnecessary files, use version history, and consider using third-party tools for more advanced file management. With these tips in mind, you can take full advantage of the powerful features of SharePoint Office 365 while keeping your data safe and secure. So keep your SharePoint site tidy and organized by deleting files that are no longer needed!
[Question is: How to Delete Files in Sharepoint Office 365?]
