A Step-by-Step Guide: How to Install Office 365 Pro Plus

How to Install Office 365 Pro Plus – A Comprehensive Office 365 Pro Plus is a productivity suite necessary in every workplace. It consists of software like Word, Excel, PowerPoint, and others. This software is cost-effective, easy to use, and provides regular updates. This article will provide a step-by-step guide on how to install Office 365 Pro Plus.
How to Install Office 365 Pro Plus: Table of Contents
Before starting the installation process, there are a few things to consider. First, ensure you have an internet connection because Office 365 Pro Plus is an online subscription that must be downloaded from Microsoft’s website. Secondly, ensure that your computer meets the minimum requirements for installation, such as operating system updates and disk space.
Step 1: Purchase Office 365 Pro Plus
The first step in installing Office 365 Pro Plus is to purchase a subscription from Microsoft’s website. You must enter your personal information, billing details, and payment method. Additionally, consider the number of licenses required for your organization. Once you’ve paid, you’ll receive an email with a link to download the software.

Step 2: Download and Install
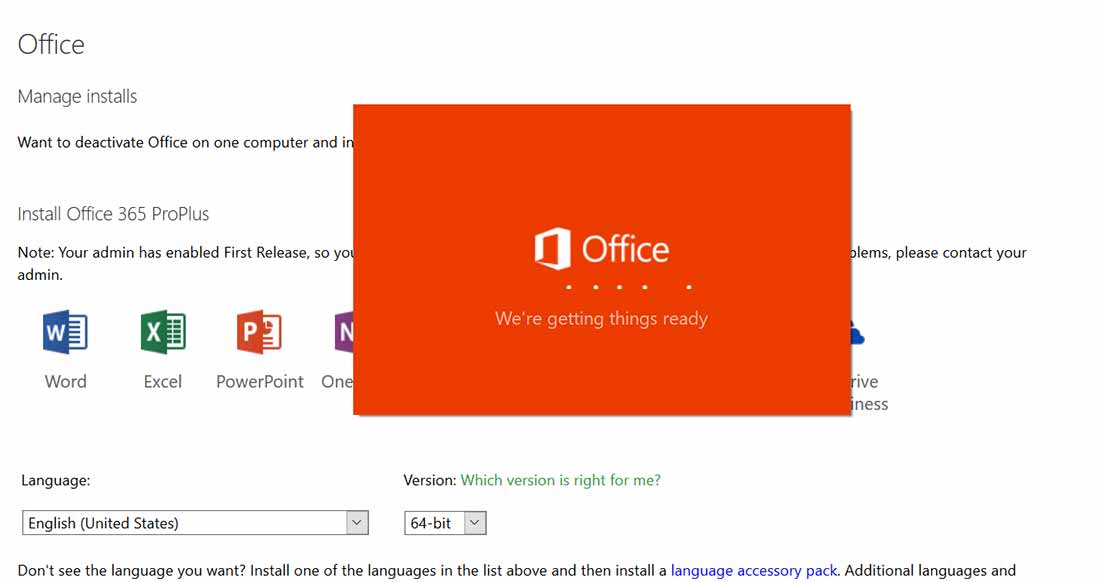
After purchasing the software, the next step is to download and install it. Navigate to the Microsoft portal that contains all the software available for download. Enter your credentials, and you will be redirected to the software download page. Click on the “Install now” option to download the software, which will take some time, depending on your internet speed.
Step 3: Account Log-in
Once you’ve downloaded and installed the software, you must sign in to your account to set it up. Enter your email address and password to your account, and click the sign-in button. You might be asked to verify your identity by answering security questions.
Step 4: Install Microsoft applications
After signing in, you will be redirected to the Microsoft applications download page. Here, you can choose which applications you want to download. The page displays a list of applications, and you can download the ones you require by clicking on the install button.
Step 5: Complete Installation
After downloading the applications, the installation process begins. The software installation wizard will guide you through the process, requiring you to accept the licensing agreement and choose where you want to save the applications. Once the installation is complete, you can use the Office 365 Pro Plus applications immediately.
Step 6. Customize Your Office 365 Settings:
Office 365 Pro Plus has many customizable settings that allow you to personalize your experience with the software. One of the essential settings to customize is the “Office Themes” feature. You can change the Office 365 theme to suit your preferences or to match the décor of your workspace. Navigate to the “options” tab and select “General.” From there, choose the theme that you prefer. You can also customize the appearance, such as reducing the white space or changing the size of the icons.
Conclusion For How to Install Office 365 Pro Plus
Installing Office 365 Pro Plus might seem daunting, but it is straightforward, and this article provides a comprehensive guide to get you started. Before installation, ensure that your system meets the minimum requirements and that you have an active internet connection. Once you’ve purchased the software, follow the steps outlined in this article, and you’ll be ready to go. Installing Office 365 Pro Plus will enhance your productivity and streamline your workflow.

My brother suggested I might like this website He was totally right This post actually made my day You cannt imagine just how much time I had spent for this information Thanks