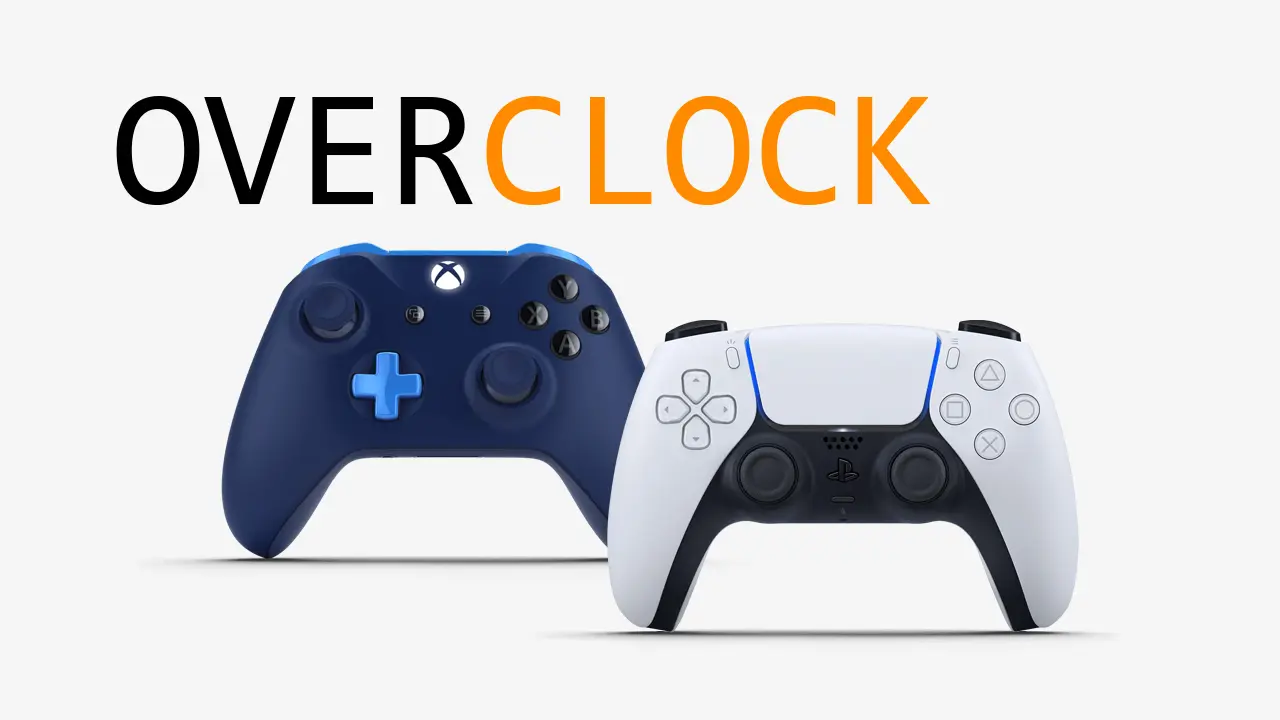
Do you want to take your gaming experience to the next level? Then, overclocking your controller might be the solution for you. It’s a great way to improve your controller’s responsiveness and reduce input lag. Learn how to overclock controller on windows 11. In this post, we will guide you on how to overclock your controller on Windows 11. This guide is designed for beginners who are new to the concept of overclocking. So, let’s get started!
What is Overclocking?

Before we dive into the process of overclocking your controller, it’s important to understand what overclocking actually means. In simple terms, overclocking is the process of increasing the clock speed of a component, such as a processor or graphics card, beyond its factory settings. This allows for faster performance and improved overall efficiency.
Why Overclock Your Controller?
Overclocking your controller can provide several benefits for gamers. Firstly, it increases the responsiveness of your controller, allowing for quicker button inputs and movements in games. This can give you a competitive edge, especially in fast-paced games where split-second reactions are crucial.
Additionally, overclocking your controller can also reduce input lag, which is the delay between pressing a button on your controller and the action taking place on screen. This can lead to a smoother gaming experience and better overall performance.
Step-by-Step Guide How to Overclock Controller on Windows 11
Now that you understand the basics of overclocking and its benefits, let’s dive into the process of overclocking your controller specifically for Windows 11. Here are the steps to follow:
- Download and Install Controller Software: The first step is to download and install a software program designed for overclocking controllers. Some popular options include DS4Windows, InputMapper, and reWASD.
- Connect Controller to Your PC: Once the software is installed, connect your controller to your PC using a USB cable or Bluetooth connection. Make sure the controller is recognized by the software.
- Adjust Settings: Open the software and navigate to the settings menu. Here, you can adjust the clock speed of your controller. It’s recommended to start with a small increase and gradually increase it until you find the optimal performance for your games.
- Test Your Controller: After adjusting the settings, test your controller in different games to see how it performs. If you experience any issues, you can always revert back to the default settings.
- Fine-Tune: Overclocking is a trial and error process, so you may need to fine-tune your controller’s settings to find the perfect balance between performance and stability.
Important Things to Consider (How to Overclock Controller on Windows 11)
Before overclocking your controller, there are a few important things to keep in mind:
- Overclocking can void your warranty: Keep in mind that overclocking your controller may void its warranty. So, make sure you are willing to take that risk before proceeding.
- Overclocking can cause damage: Pushing your controller beyond its factory settings can potentially damage the hardware. Make sure to monitor your controller’s temperature and performance while testing it.
- Not all controllers can be overclocked: Unfortunately, not all controllers are compatible with overclocking software programs. Make sure to research whether your specific controller can be overclocked before attempting the process.
Conclusion of How to Overclock Controller on Windows 11
Overclocking your controller may seem like a daunting task, but with the right tools and knowledge, it can greatly enhance your gaming experience on Windows 11. Just remember to proceed with caution, monitor your controller’s performance, and fine-tune accordingly. Happy gaming! So, what are you waiting for? Give overclocking a try and see the difference it can make in your gameplay. Keep exploring and pushing the boundaries of what your controller can do. The sky’s the limit!
Related posts
Recent Posts
- Data Modeling with Microsoft Power BI O’Reilly: Practical Guide, AI, and Pricing July 30, 2025
- Power BI Workspace Roles & Access Levels: A Complete, Practical Guide (2025) July 25, 2025
- How Much Is a Power BI License? 2025 Best-Value Pricing Guide for Businesses July 20, 2025
- Power Apps vs Power BI in 2025: a complete guide to choosing, combining, and scaling the right solution July 15, 2025
- Power BI Embedded Pricing: 2025 Cost Playbook for Accurate Budgets and Confident Launches July 12, 2025
Blog Categories
Product categories
Best Selling
-
 Best Design Portfolio Websites For Professionals
€49.99 – €99.99Price range: €49.99 through €99.99
-
 Quikdaz | Worldwide Software Deals | Leading Digital Services
€1,650.00Original price was: €1,650.00.€1,499.99Current price is: €1,499.99. -
 QFolio | Personal DIVI Premium Portfolio Layout Pack
€14.99
-
 The domain name & Website petoranest.com is for Sale
€599.99
-
 Print Ready Be Kind T-shirt Design Template
€4.99
-
 Print Ready Born Free, Staying Brave T-shirt Design Template
€4.99
-
 Enjoy Shopify Frist 3 Days Free Trail and 1 USD Per Month For your First 3 Months
€0.00
-
 Flatsome | Multi-Purpose Responsive WooCommerce Theme Including License Key & Lifetime Updates
€59.00
-
 Betheme | Responsive Multipurpose WordPress & WooCommerce Theme Including License Key & Lifetime Updates
€59.00
-
 Avada | Website Builder For WordPress & eCommerce Including License Key & Lifetime Updates
€59.00Original price was: €59.00.€29.99Current price is: €29.99.
Categories
Best Selling
-
 Nitro PDF Pro 14 (PDF Editor) Official License Key For Lifetime
€179.99Original price was: €179.99.€29.99Current price is: €29.99. -
 Customize Name Official Microsoft Power Bi Pro Account For Lifetime
€199.00Original price was: €199.00.€54.99Current price is: €54.99. -
 Custom Username Office365 Pro Plus 1 Account For 5 Windows/Mac/Tablet With 100GB OneDrive Storage
€79.99Original price was: €79.99.€24.99Current price is: €24.99. -
 Autodesk 2025 All Apps -3 Years Subscription (Your Own Email Activation)
€3,599.00Original price was: €3,599.00.€175.99Current price is: €175.99. -
 Customize Username Microsoft Office 365 Pro Plus 1 Account 5 Device for Windows, Mac, iOS With 6 Months Warranty
€75.99Original price was: €75.99.€19.99Current price is: €19.99.
