A Step-by-Step Guide on How to Move Windows 11 to Another Drive

Are you planning on upgrading your computer’s hard drive or want to transfer your Windows 11 operating system to a different storage device? Whatever the reason, how to move Windows 11 to another drive is not as daunting as it may seem. In fact, with just a few simple steps, you can successfully transfer your system to a new SSD or HDD drive without losing any data. Discover the easiest way to move Windows 11 to another drive with our step-by-step guide.
In this guide, we will walk you through the process of move Windows 11 to another drive in an easy and efficient manner. So let’s get started!
How to Move Windows 11 to Another Drive

Step 1: Back up Your Important Data
Before you begin the process of moving Windows 11 to another drive, it is important to back up all your important data. This includes documents, photos, videos, and any other files that you cannot afford to lose. You can use an external hard drive or cloud storage for this purpose. This step is necessary as there is a chance of data loss during the transfer process.
Step 2: Prepare Your New Drive
Once your data is safely backed up, the next step is to prepare your new drive. If you are using an SSD, make sure it is connected to your computer via a SATA cable. For HDD, connect it through a USB port.
Step 3: Download and Install EaseUS Todo Backup
To ensure a smooth transfer of your Windows 11 system, we recommend using EaseUS Todo Backup software. It is a reliable and user-friendly tool that will help you clone your system to the new drive.
Once downloaded, follow the on-screen instructions to complete the installation process.
Step 4: Clone Your Windows 11 System
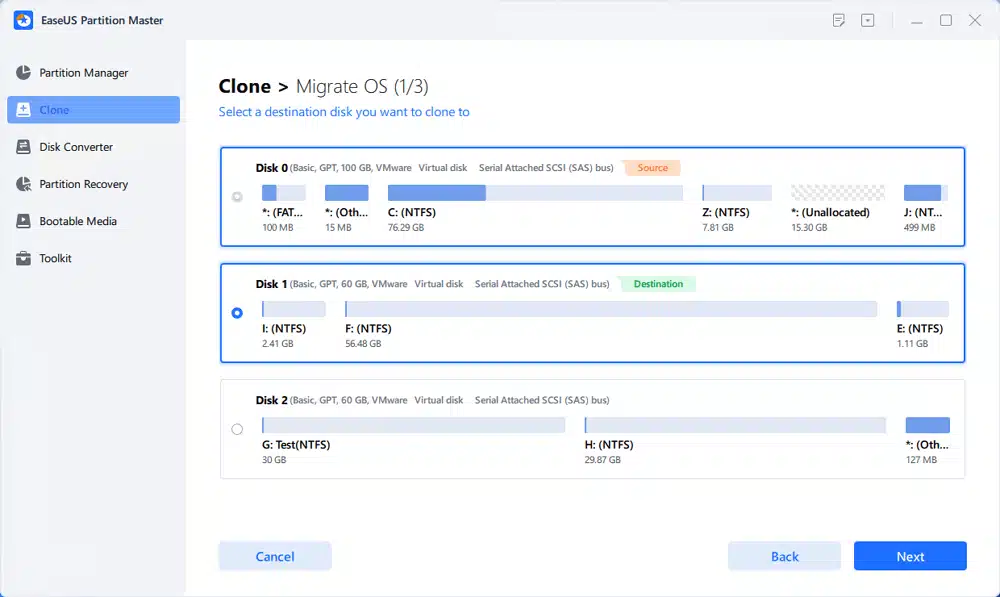
After installing EaseUS Todo Backup, launch the program and click on “Clone” from the main menu. Select “System Clone” and choose your source drive (where Windows 11 is currently installed) and the target drive (where you want to move Windows 11).
Step 5: Start the Cloning Process
Once you have selected the source and target drives, click on “Proceed” to start the cloning process. Depending on the size of your system, this may take a few minutes to complete.
Step 6: Set Your New Drive as Bootable
Once the cloning process is complete, shut down your computer and disconnect the old drive. Next, connect the new drive and start your computer. Go to BIOS settings and set the new drive as the primary boot device.
Step 7: Check Your New Drive
Finally, check if everything has been successfully transferred to your new drive. You should have all your files and settings exactly as they were on your old drive. If something seems to be missing, go back to Step 6 and double-check the BIOS settings.
Congratulations, you have successfully moved Windows 11 to another drive! Now you can enjoy a faster and more efficient system on your new SSD or HDD drive.
Additional Tips For How to Move Windows 11 to Another Drive?
- If you don’t want to use third-party software, you can also move Windows 11 manually by creating a system image and restoring it onto the new drive. However, this method may be more time-consuming and complicated.
- Make sure to properly disconnect and reconnect all drives during the process to avoid any data loss.
- If you encounter any errors or issues, you can always seek help from professional computer technicians. It is better to be safe than sorry when it comes to important data.
Moving Windows 11 to another drive may seem like a daunting task, but with this step-by-step guide, you can easily do it on your own. Now go ahead and enjoy a faster and more efficient system on your new storage device!